What’s troubling is that if you’ve got an Android phone and a friend has an Apple, you may easily be required to communicate your precise whereabouts. Would you be able to do that? Sharing the location appears to be pretty straightforward. Because of this Androidees tutorial, you’ll be able to share your whereabouts using Google Maps, which is initially familiar to Android phones and then later, the iPhone.
But first, let’s understand Why would someone want to share their location, and How to share location from Android to iPhone. To share a location here are some ideas:
1.Security: If you are outdoors and fear for your safety, sharing your location with relatives can assure them that you are well.
2.Meeting Up: If you’re at a large park, man, or event, and looking for friends, you can share your location to skip finding each other.
3.Emergency Situations: In the event of an emergency, sharing your location could allow emergency workers to get to you faster.
4.On a Trip: When you are at a trip, others can check where you are and how you are doing.
Now that we know when it is appropriate to do so, let’s look at the process of sharing location from Android to iPhone.
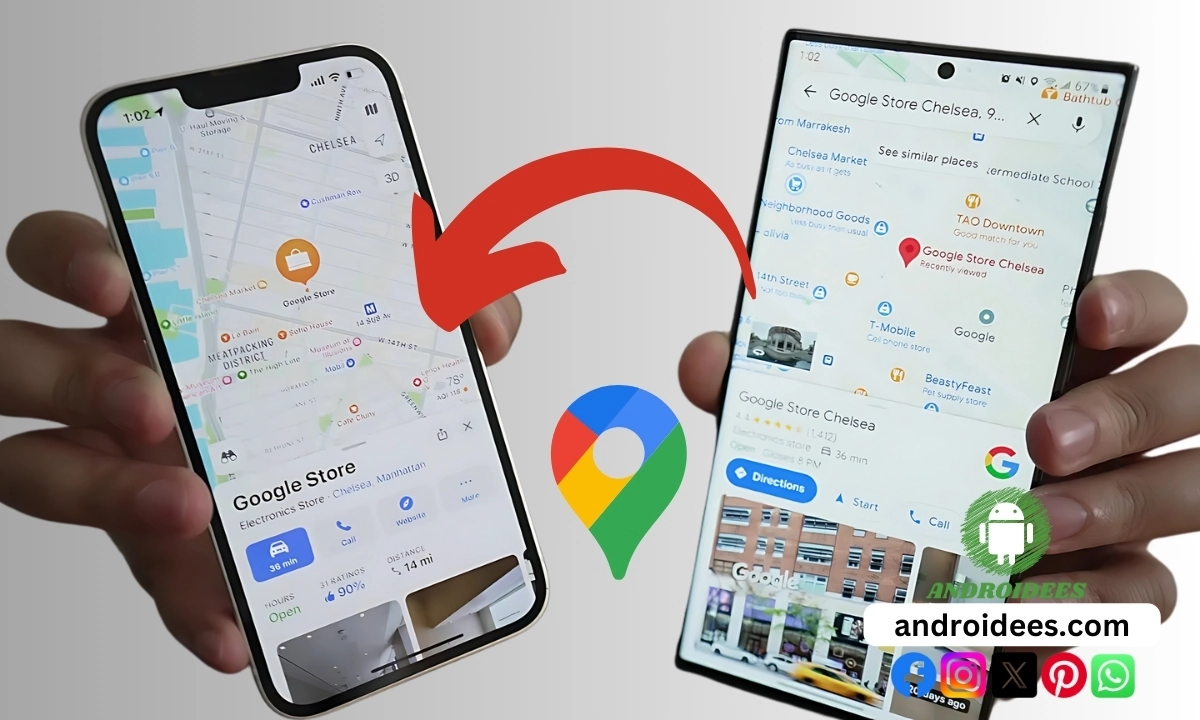
How to Share Location From Android to iPhone?
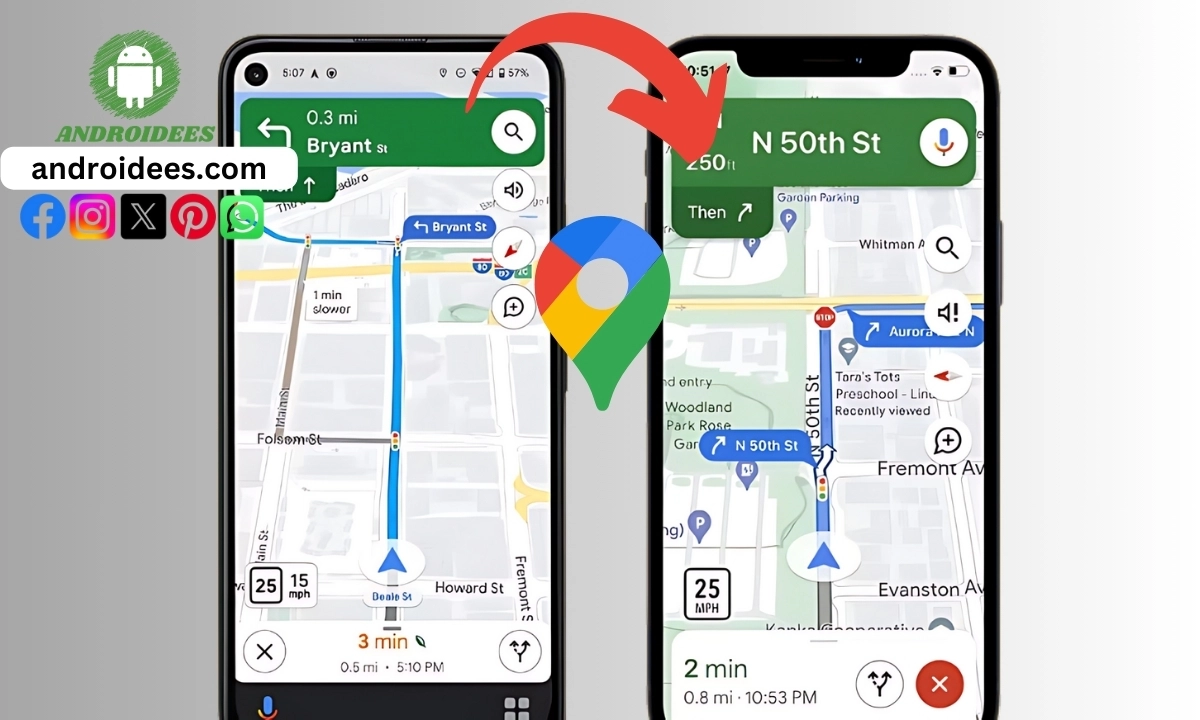
One of the best and most popular options for sharing your location is Google Maps. This service is also free and easy to use. Here are the steps.
Step 1: Launch Google Maps on your Android.
To begin, locate the icon on your phone that says Google Maps. It is designed as a multi-colour pushpin on a map. You have to tap once on the icon in order to run theapplication. Most often, you can find it either on the home page or in the list of apps on the device.

Step 2: Open the Menu
Next, you have to go to the menu. Look at the top right corner of the screen. There’s a small circle that shows either your profile image or your nickname’s first letter. Press on this circle.
Step 3: Go to Location Sharing Settings
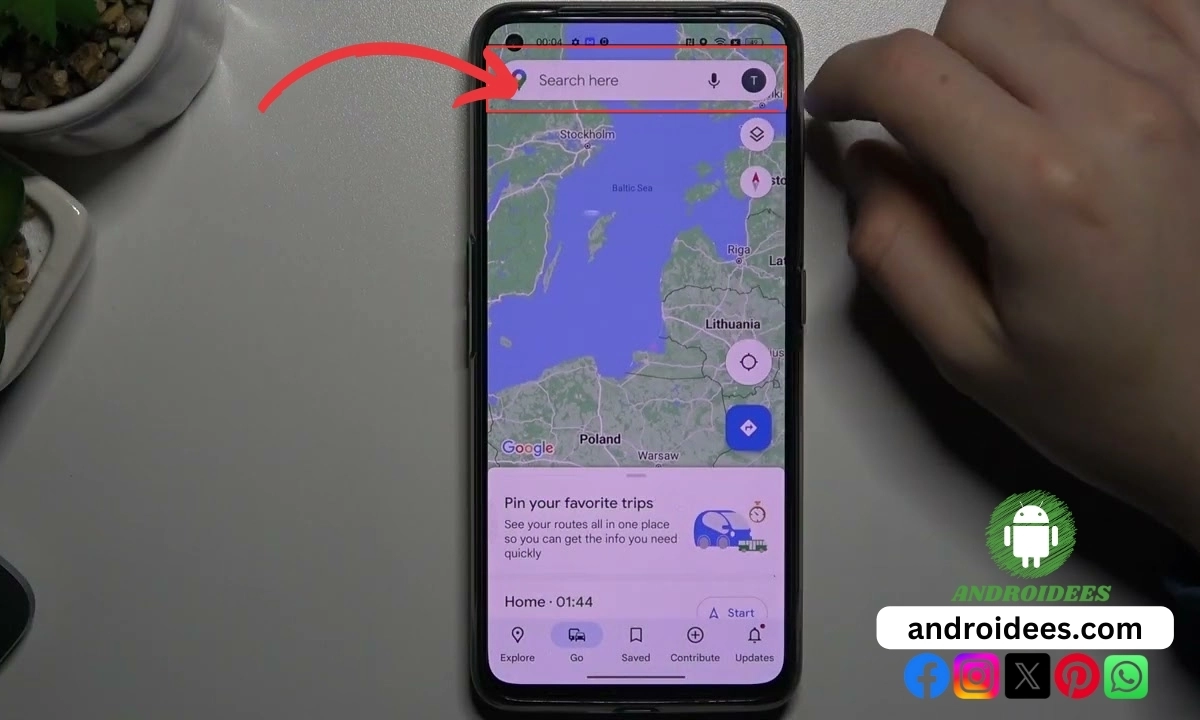
From the menu that appears on the screen, locate the item labelled ‘Location sharing.’ This may be present in the middle section of the list. Click on this option.
Step 4: Choose How Long to Share Your Location
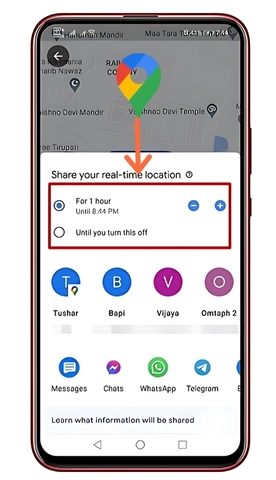
Currently, you have to choose duration for which your profile can be viewed. You will notice the “+” and “-” signs that will allow you to choose the period. The duration can even be specific, such as an hour or a day. However, if you want your location to be shared without a time limit, then select the description that reads as “Until you turn this off.”
Step 5: Select a Contact to Share With
Urgh, this is tiring… In the next section, all you have to do is select from the list of contacts with whom you are willing to share your location. You will be able to see all your contacts. Proceed to your contact folder and touch the profile picture of the person whom you want to share. Should maps ask for permission to see your contacts, grant permission.
If however, the one you would like to share with does not have a Google account, you could select New share from the top right of your screen. You will be able to create a link which you can email or text.
Step 6: Share Your Location
Lastly, press share and your location will be shared with the selected contact. They will be notified as well and will be able to see your location on the map through Google Maps. If you shared your location over a link, they will simply have to press it to find your location.
At any point, it is possible to withdraw permission to share your location. To do this, go back to ‘Location sharing’ settings, locate the contact you are sharing for, and press ‘Stop’.
Other Methods That Can Be Used To Share Location
Although Google Maps appears to be the most convenient means to share one’s location, it certainly isn’t the only one which can be done from an Android device to an iPhone user. Here are some other methods:
Using WhatsApp
WhatsApp is a popular messaging app that also lets you share your location. Here’s how to do it:
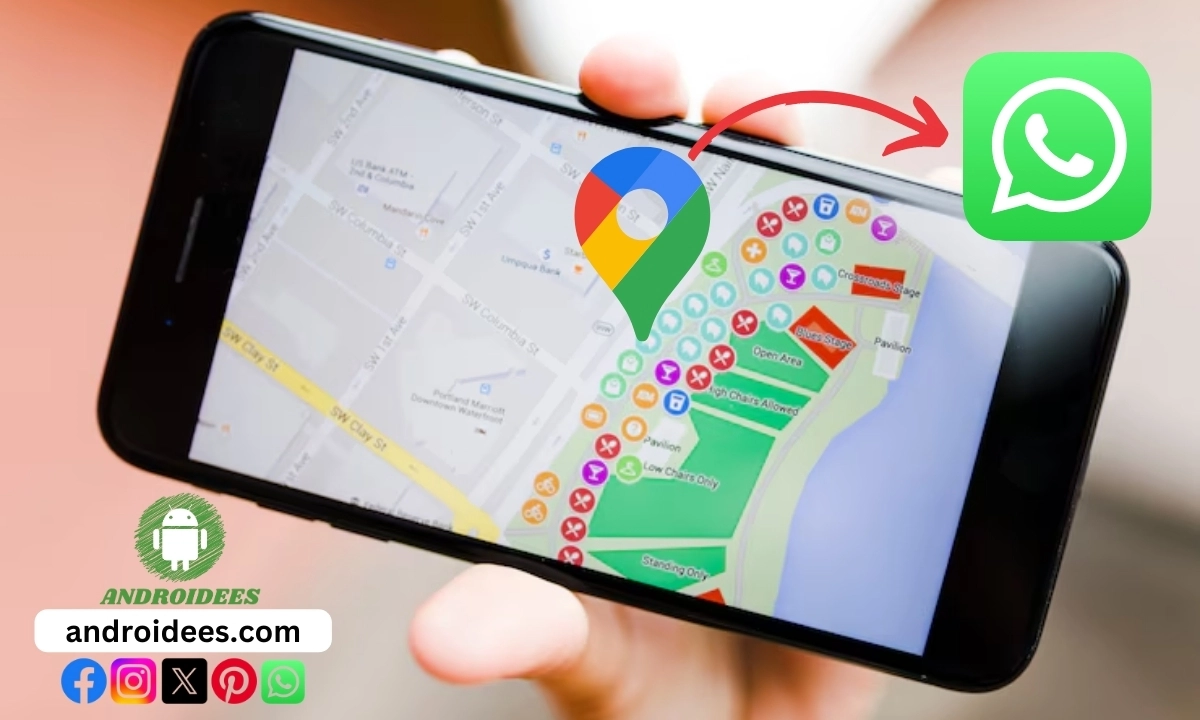
1.Open WhatsApp: Click on the WhatsApp icon to launch the application.
2.Open a Chat: Initiate a conversation with the one you would like to send your location.
3.Click on the Attachment Icon: A paper clip should be what it resembles. It is located at the bottom portion of the page.
4.Click on Location: Click on the option that says “Location.”
Click the Share Live Location: Pick “Share live location” and then pick the time.For the last step, click on “Send.”
Your friend will send you a message with details regarding your location. They will be able to tap on the message to check where you are.
Using Facebook Messenger
Another application that will assist you in distributing your place is Messenger. This is what to do:
1.Open Messenger: Tap on the Messenger’s icon to open the application.
2.Open a Conversation: Start a conversation with the person you want to send your location to.
3.Click on the Plus Sign: It is usually found at the lower part of the screen.
4.Select Location: You will find the option “Location.” Click on it.
5.Share Live Location: Click on “Share live location” then select the time . Finally hit “Send.”
The person you are chatting will be able to see your location within the conversation on a map.
Sharing location via Email or Text Message
In case you wish to avoid using an app, there is also a provision of using emails or text to share one’s location. Let us take an example of sharing a location through google maps:
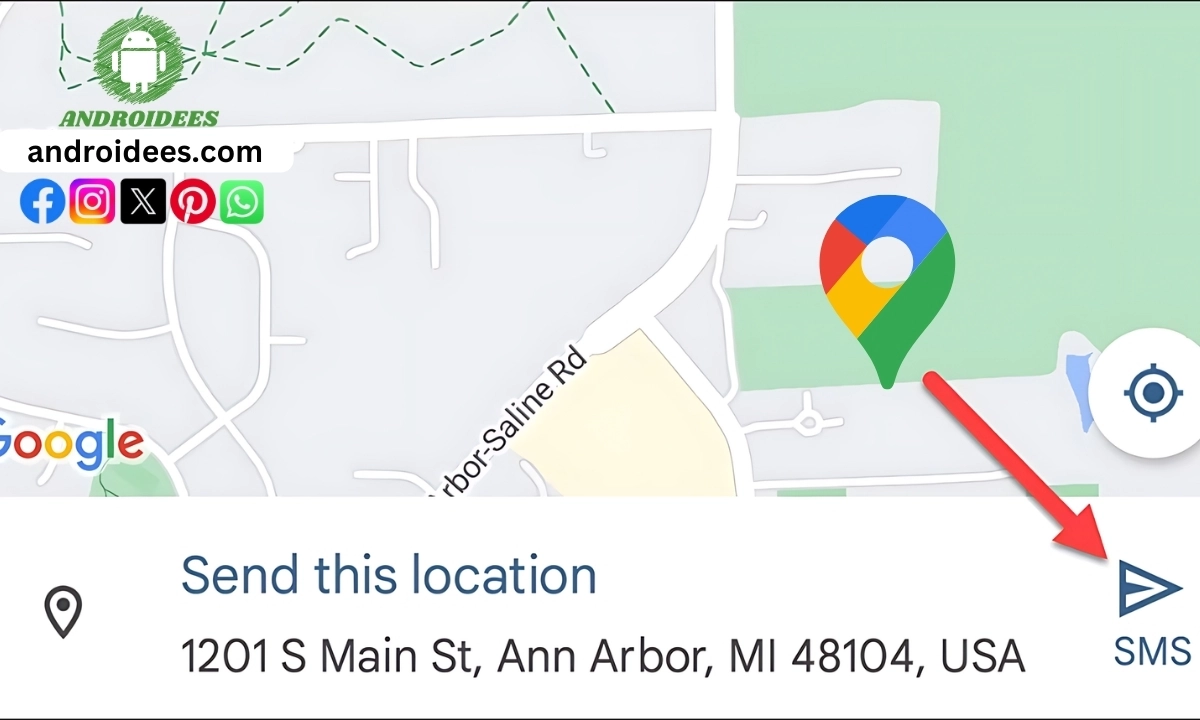
- Open Google Maps: Tap on the Google Maps icon.
- Get Your Location: Find your current location on the map.
- Tap the Blue Dot: This shows your current location.
- Tap “Share Your Location” or “Send Your Location”: Different versions of Google Maps might show slightly different options.
- Choose Email or Message: Select your preferred method to send the location link.
Your friend can open the link on their iPhone and see your location.
Tips for Sharing Your Location
Here are some tips to make sharing your location easy and safe:
1.Update Your Apps: Update your apps especially Google Maps or any service that you typically use because you get introduced to newer upgrades in features and security as well.
2.Adjust the Permissions: The applications will request for permission to utilize your location so do make sure that you have substance access.
3.Keep Your Data Safe: Only share your location with people you trust, know how long you are sharing it and who is able to view that.
Sharing the location for necessary purposes is fine but for security saving and battery purposes remember to turn off location sharing once the need is gone.
Ending Remarks
It is fairly straightforward and quite handy to share location from Android to iPhone. This is the other best option if you were looking for services apart from Google Maps or rather WhatsApp or Facebook Messenger emails, phone books, etc. You simply have to do the things that we have mentioned above, and you will be able to share your location in a matter of seconds. Make sure to always update your apps and share your location with contacts you trust. Take care and stay in touch!

